
Beginner Makeup Kit Essentials (Plus Step by Step Tips)
I first learned how to do my own makeup when I was around 8 years old. At that time I was doing ballet pretty seriously and that entailed learning how to put my own makeup for shows and pictorials.
My love for makeup stayed throughout the years and while I only do light and natural makeup on the daily, I still get giddy whenever I need to do full glam whenever I go to weddings and other events.
So here’s a list of beginner makeup products to fill your first full glam makeup kit. I’ll also include some step by step tips so you know which product should go on first. With a little bit of practice, you’ll learn how to do your own makeup like a professional makeup artist at home.
#1 Primer
The first step is really to clean your face and moisturize it. So before putting on anything, make sure to do your own skincare routine to make sure you have a clean and supple base.
After doing your skincare routine, it’s a good idea to apply primer on your whole face. This ensures that you have a smooth base and it also helps to make your makeup last longer. This is very important especially when you have a full day of activities such as when you’re a bridesmaid at a wedding.
My personal favorite primer is the Benefit The Porefessional Pore Minimizing Primer. This primer helps to minimize the appearance of pores and fine lines. It also helps your make up stay put throughout the day.
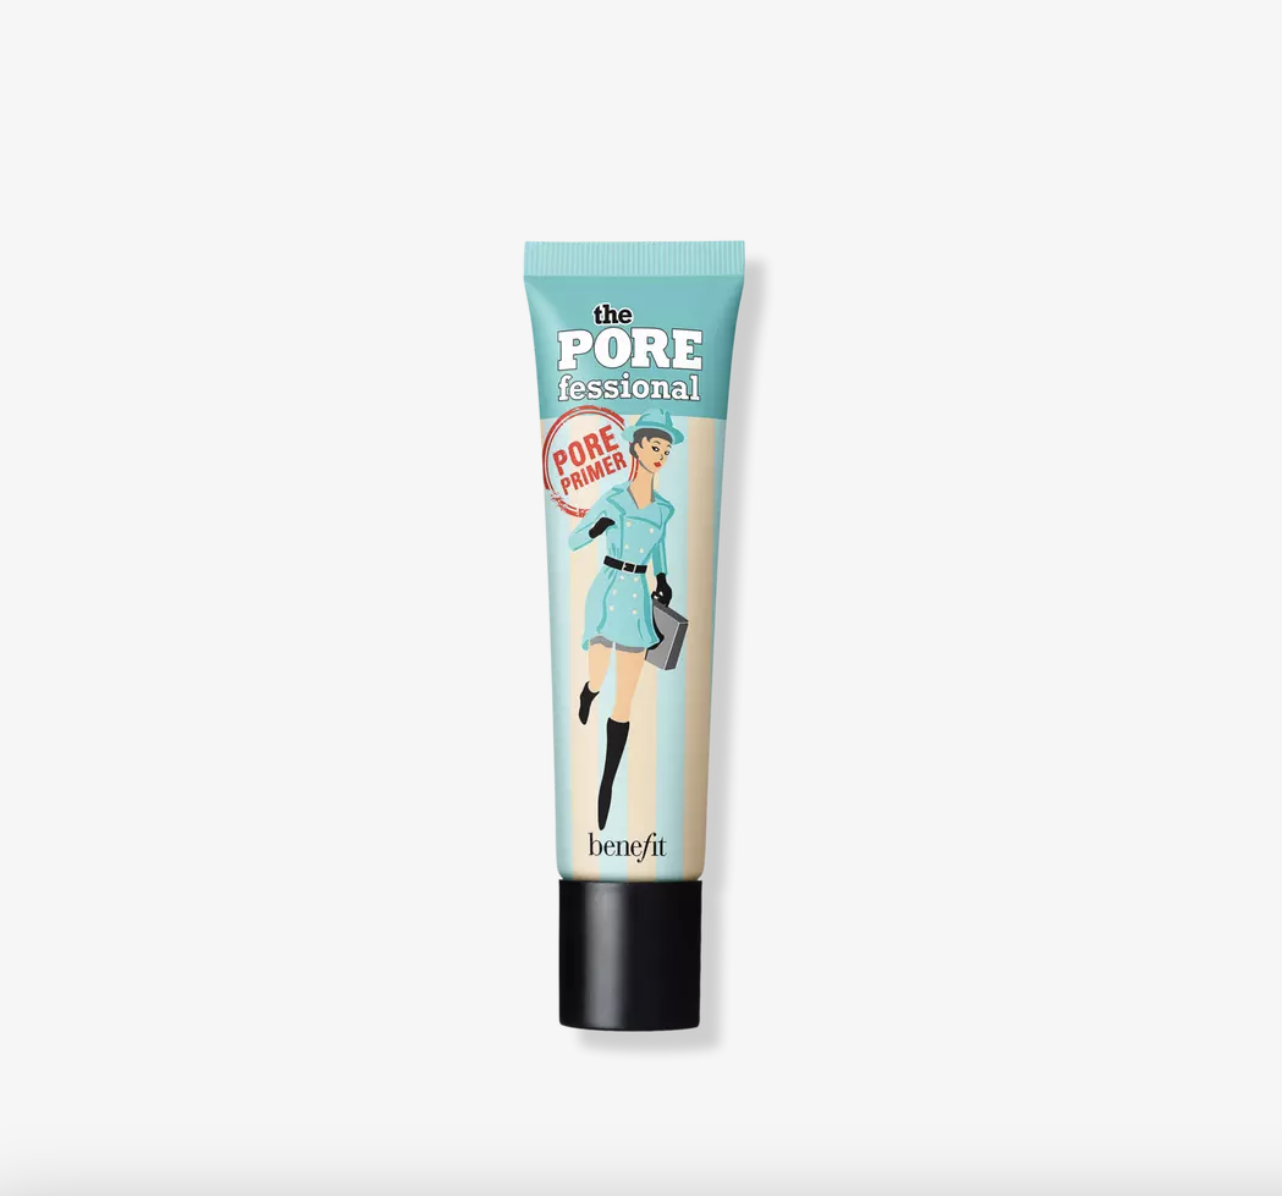
Benefit The Porefessional Pore Minimizing Primer from ulta.com
Another option is the Make Up For Ever Step 1 Primer Pore Minimizer. This helps you achieve a smooth and blurred effect finish.

#2 Foundation and Sponge
Next stop is foundation. When picking a foundation, you need to decide if you want light, medium or full coverage. This depends on how much do you want to cover up your skin. If you have some blemishes and want to hide them, then you can go for a full coverage foundation.
Personally, regardless if I have perfect skin or not, I prefer to go for light to medium coverage foundations. This ensures that my make up looks as natural as possible.
For beginners, I would also recommend using medium coverage foundations first to avoid “cakey-ness”. This is when your skin looks like there is so much product on it. Your makeup looks textured, splotchy and uneven.
It is always best to choose a foundation that just looks like natural skin. It covers your skin just enough to make it smoother and even but it still allows your natural skin to peek through.
One of the best foundations out there is the Too Faced Born This Way Foundation. It is a medium to full coverage foundation which means that if you want more coverage you can just add more product to build it up. It is an undetectable and super long wear foundation that helps keep your skin looking flawless for up to 24 hours.

Too Faced Born This Way Foundation from ulta.com
Another great option is the Estee Lauder Double Wear foundation. This is another buildable medium to full coverage foundation. Its formula is so lightweight and comfortable that you don’t feel like you actually have foundation on.

Estee Lauder Double Wear Foundation from ulta.com
When applying foundation, you can use your fingers, a brush or a sponge. I still prefer using a sponge, though because the damp sponge thins out the foundation a bit so it’s easier to work with and I can just build up to the amount of coverage that I want.
I really still enjoy using the Original Beautyblender. It’s just so easy to use and I really like how the foundation sits on my skin after blending.

The Original Beautyblender from ulta.com
#3 Concealer
After applying your foundation, you can now apply some concealer to cover up blemishes and dark spots.
Some people also prefer using concealer to highlight their face. They choose a concealer shade that is a bit lighter than their skin tone and apply it on their under eyes, forehead, down their nose and on their chin.

Image from cosmopolitan.com
Personally, I prefer to just put concealer under my eyes to cover up my dark circles and on any dark spots from pimple marks.
I would suggest the same for beginners. It would be best to avoid putting too much products on your face for now until you can be more confident with your blending skills. Adding to many products on your face can lead to more mistakes.
My go to concealer is the Maybelline Instant Rewind Eraser. They call themselves America’s #1 concealer that can conceal dark circles and correct blemishes. I love this concealer and have been using it for years. It’s just really easy to work with with just my fingers. It looks so natural and never causes any creasing under my eyes.

Maybelline Instant Age Rewind Eraser from ulta.com
Another cult favorite is the Nars Radiant Creamy Concealer. It’s an award winning product that can stay on for up to 16 hours.

Nars Radiant Creamy Concealer from ulta.com
#4 Powder
After applying your foundation and concealer, you need to set them with a powder. This makes sure that your foundation and concealer stay put and last throughout the day. It also helps provide a smooth base so the next products you will be putting will layer on nicely.
One of the best and most popular setting powders out there is the award winning and cult favorite Laura Mercier Translucent Loose Setting Powder. It helps you achieve a blurred effect on your skin and maintains your make up for up to 16 hours.

Laura Mercier Translucent Loose Setting Powder from ulta.com
Since this powder is a bit too expensive for me, I personally use a well known dupe, the RCMA No Color Powder. In my experience, this works just as well as the Laura Mercier powder.

RCMA No Color Powder from amazon.com
#5 Bronzer
After putting on foundation and concealer, your face will look flat and very even. It’s time to add back the natural shadows of your face with a bit of contouring.

Image from iconiclondoninc.com
Contouring kits can be intimidating especially for beginners. Additionally, cream contour products can be even more intimidating especially when you’re still learning how to blend well.
With this, I recommend using just a bronzer powder for beginners.
Contouring and bronzing products are essentially different. Contouring products are matte and are used to create shape and add dimension to the face. On the other hand, bronzers usually have shimmer and are used to add warmth or a glow to your face.
Nevertheless, you can definitely use a matte bronzer for contouring. A powder bronzer can be less intimidating for beginners to use. And for me, I actually prefer to use a matte bronzer powder since it’s easier and less prone to mistakes. Plus, it actually looks better and more natural for me.
Here are some matte bronzer options that you can try. These are highly recommended and frequently used by makeup artists and celebrities too.

Physicians Formula Matte Monoi Butter Bronzer from ulta.com

Benefit Cosmetics Hoola Matte Powder Bronzer from ulta.com
#6 Blush
Now to add some color to your face, it’s time to put on some blush. There are so many types of blush products from tints, to creams to powders. For beginners, it would be best to start with powder products as it’s easier to blend.
An affordable yet quality blush comes from Milani, an Italian brand that is widely available in drugstores and online. For a pigmented and luminous finish, try their Baked Blush. For a natural and matte pop of color, try their Rose Powder Blush.

Milani Baked Blush from ulta.com

Milani Rose Powder Blush from ulta.com

Nars Blush from ulta.com
#7 Highlighter
Highlighter is quite an optional product. But for a night out, it does give a nice, shimmering effect.
You don’t have to spend a lot of money on highlighters. There are a lot of great drugstore options that a lot of makeup artists and gurus swear by.

Essence Pure Nude Highlighter from ulta.com

Wet n Wild MegaGlo Highlighting Powder from ulta.com
A great high end option is the Ofra Cosmetics Highlighter. Its best selling shade, Rodeo Drive, is the perfect champagne for all skin tones. It has a smooth highlight formula that melts into the skin, giving the appearance of a lit from within glow.

Ofra Cosmetics Highlighter from ulta.com
#8 Eyebrow Pencil and Gel
Another intimidating part for beginners when doing their own makeup are the eyebrows. A good way to start working with your eyebrows is to use an eyebrow pencil and an eyebrow gel. These are products that are subtly pigmented so it’s easier to work with and less prone to mistakes.
My personal favorite eyebrow products that I’ve been using for years are from Benefit Cosmetics.

Benefit Cosmetics Precisely My Brow Pencil from sephora.com

Benefit Cosmetics Gimme Brow Tinted Volumizing Eyebrow Gel from sephora.com
To use these products, just brush your eyebrows upward using the spoolie attached to the pencil. Then with a light hand, use light, hair like strokes to fill in any gaps or sparse areas of your eyebrows. Brush your eyebrows again with the spoolie to blend out the strokes further.
Finish off with the volumizing gel to keep your eyebrows straight up and feathery. Just lightly brush your eyebrows up with the gel spoolie.
This method ensures that your eyebrows are natural looking instead of looking like it was painted on.
#9 Eyeshadow Palette
Now we’ve come to the most exciting part, eyeshadow!
As a beginner, you really just need 2 shades. One darker shade for your crease and one lighter shade for your eyelid.
When choosing your first eyeshadow palette, you really don’t need a big one. Just choose a big enough palette that can serve your purpose but also offers some variety that will allow you to play and practice with different looks.
It’s a also a great idea to stick with browns and neutrals first since we’re still learning as it’s a bit more difficult to work with bold colors. Also keep in mind to have a good balance of matte and shimmer shades to have more options for different looks.
Here are some great options for your first eyeshadow palette.

Anastasia Beverly Hills Soft Glam Eyeshadow Palette from ulta.com

Urban Decay Naked Heat Eyeshadow Palette from ulta.com

Too Faced Better Than Chocolate Eyeshadow Palette from ulta.com
#10 Eyeliner
Putting eyeliner can be intimidating as well as it’s difficult to correct once you make a mistake. There are also so many techniques and trends out there that can look amazing but scary to try yourself.
For beginners it would be best to start with just defining your eyes with some pencil eyeliner. Later on, as you gain more confidence and refine your technique, you can explore more eyeliner options such as the famous winged eyeliner using some liquid eyeliner products.
Here are some pencil eyeliner options that you can start with.

NYX Slim Eye Pencil Long Lasting Eyeliner from ulta.com

Urban Decay 24/7 Glide On Eyeliner Pencil from ulta.com
#11 Eyelash Curler and Mascara
To open up your eyes, curl your lashes prior to applying mascara. Of course it’s fun and more glamorous to put on some fake lashes. However, as a beginner, it’s totally understandable to skip this first as it takes a while to perfect how to attach them.
Don’t worry, with a good eyelash curler and a great mascara, you can still achieve long and full eyelashes.

Shiseido Eyelash Curler from ulta.com
The great thing about finding an amazing mascara nowadays is that you don’t need to spend too much on it. There are so many great options from the drugstore at very affordable prices.
Check these out!

Essence Lash Princess False Lash Effect Mascara from ulta.com

Maybelline Lash Sensational Sky High Mascara from ulta.com

L’oreal Voluminous Lash Paradise Mascara from ulta.com
#12 Lip Products
Now on to another exciting part, lip products!
There are so many lip products out there — from tube lipsticks, liquid lipsticks, lip stains, lip gloss and so much more. But the good news is, you can go ahead and layer on different products to achieve the finish and shade that you want.
The only thing that I would say for beginners is to probably start with lip products with applicators like liquid lipsticks and lip stains. It’s just so much easier to apply versus a tube lipstick.
Here are some popular options that not only look great but are also good with hydrating your lips.

Fenty Beauty Icon Velvet Liquid Lipstick from ulta.com

Fenty Beauty Poutsicle Hydrating Lip Stain from ulta.com

Rare Beauty Lip Souffle Matte Cream Lipstick from sephora.com

Rare Beauty Stay Vulnerable Glossy Lip Balm from sephora.com
#13 Brushes
Last but definitely not the least, you will of course need some brushes to apply your make up with. It’s a good idea to invest in some great and durable brushes that can last you forever.
Two of the best brands when it comes to make up brushes are Morphe and Real Techniques.

Morphe Rose Away 6 Piece Travel Brush Set from ulta.com

Real Techniques The Wanderer Face Makeup Brush Kit from ulta.com
And there you have it — 13 beginner make up products for your first makeup kit! Just remember that makeup should be fun and relaxing. So don’t stress out too much. In no time and with a little bit of practice, you’ll learn how to apply make up just like a professional.